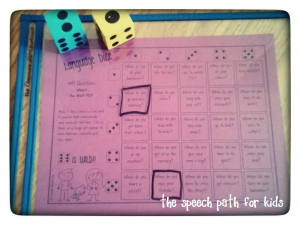
This week my kids have been enjoying the activities in Language Dice from The Buckeye Speech Path. She has 3 boards for each target (when?s, compare/contrast, why?s, etc). Students can all have their own board and work on the same target or different ones. I love that! I printed it using colored card stock and chose a different color for each language target. This makes it easy to sort through and pick the boards I want. Plus I just love organizing by colors! As you can see I also used the sturdy sheet protectors for the kids to mark their squares. Some of the kiddos turned it into a bingo-type challenge and were getting quite vocal hoping for a particular number to roll on the dice!
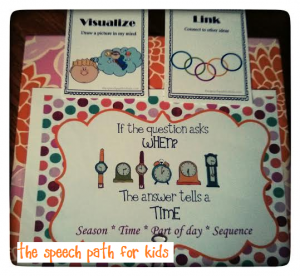
I pulled out several visuals to use as they targeted the various language skills. I want my kids to always know what memory strategies they are using and how they are incorporating them throughout the day. Sometimes I’ll give them the cue of the strategy we are using, other times I’ll have them try to select the one they need. You can grab your copy of the Memory Strategies & Visual Cues FREEBIE here. I also used visuals for the various WH- questions to talk about what kind of answer we were searching for. These visuals came from my Our Community – Questions Around Town packet.
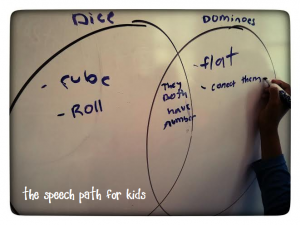
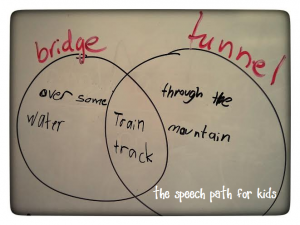
My 4th and 5th graders used the compare/contrast boards. They answered verbally and also had a chance to draw some Venn diagrams on the board. One day they worked individually, the next day they had to partner up. Working cooperatively in pairs can be challenging, so I try to give them as much supportive practice as possible.
It’s amazing how one of my students with autism can work in his love of trains to absolutely everything! He was comparing bridge and tunnel and managed to include trains in an appropriate way.
I was able to use this packet across my 1st grade through 5th grade language groups. I also have some students working on carryover articulation skills and it worked well to collect a natural speech sample.

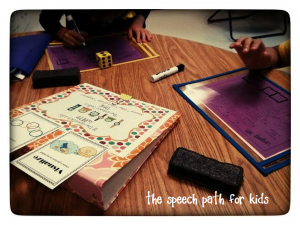


I love how you place your visuals on a binder! I’m definitely going to steal that idea! Do you put all of your visual aides in the same binder?
Hi Kristina! I do a combination. I have a set of visuals that I use continuously and I keep these in the basic page protectors within one binder. These include a set of speech/language student objectives, WH-? cues, conversation cues, and reasoning visuals. I flip that binder open over one of my card stands and attach the binder with binder clips. This makes a nice easel for me to flip between the commonly used visuals. (you can see an example of this on the spring potpourri post…I displayed by bubbles visuals this way too). I also have many visuals that are specific to units and I store those with the unit file. When I am doing that unit I will put the page into my easel but I store it with the unit so that I know where to find it. In the picture above I wanted the visuals to slightly elevated and I also wanted to lay the cards with it, so I just used a binder clip to attach it to the binder (and this also kept the binder closed). You could easily store visuals inside it and just pull out one you needed. I have some binders that I use like this with velcro strips along the outside…clipping them with a binder clip helps to keep them sturdier. I have so many of those binder clips because I also use them to hold cue cards or pictures for game pieces 🙂 Glad you found a helpful idea 🙂 Emily