If I was stranded on a desert island and could only choose three tools for therapy, bubbles would be top on my list. Hey, it may even make it twice! It’s a favorite for all ages and just brings a little whimsy to the day. So this week I am incorporating science experiments into my therapy to make bubbles!
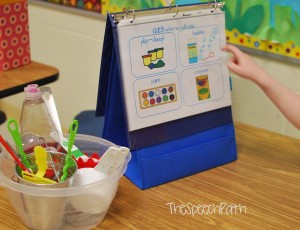
Originally when I researched the measurements for bubbles I was thinking that I wanted enough parts for the whole group to be able contribute to creating the bubbles. So I decided on a quantity of 1/2 cup soap and 5 cups water. That was the original recipe cut in half, so I thought I was doing well. Later I experimented with measurements and realized that even 1/8 cup of soap and 1 cup of water yielded tons of bubbles! And then I started thinking about duplicating this experiment over 5+ groups and realized I was being really ambitious with 5 cups of water each time! If you choose to do a larger batch I would suggest making sure you have a container with lid to keep bubbles for future use. So I decided to create another visual board with a dramatic decrease in amount, in case you also prefer to work with smaller batches. Now you have an option 🙂
Bubbles are so universal, which makes this experiment full of language opportunities! Students will have visual support while predicting, measuring, experimenting, sequencing, answering questions, and sharing opinions. We touched on language goals including size, speed, location, action, sequence, sentence structure, turn taking, requesting, choice making, questioning, commenting, and breath support. Whew!
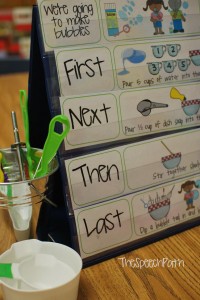
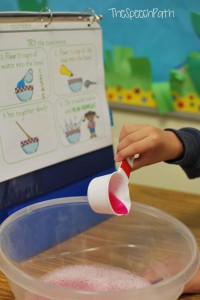
We used a sequence board as we went through each step. We we reviewed and predicted steps as we went a long. Students were able to take turns within each of the steps to share in the fun.
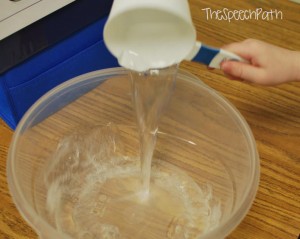
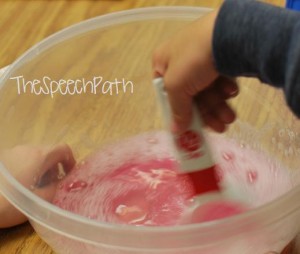
They practiced turn taking skills by asking their peers who wanted a turn and commenting on whose turn was next. The experiment itself consisted of measuring, pouring, and stirring.
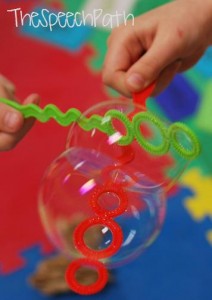
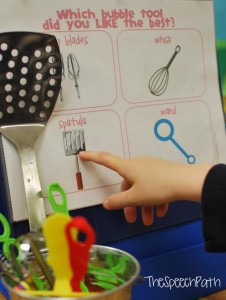
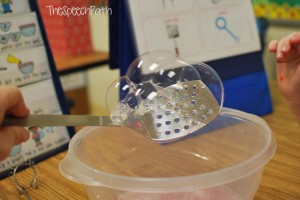
Students practiced blowing (and popping!) bubbles using various bubble tools. We used mixing blades, a whisk, a spatula, and traditional wands. It took a little bit of finesse to get the bubbles to blow through the mixing blade, but some of the kids became experts with that one.
We were all able to use the choice board to show our preference of tools. With some of my groups we were able to expand to questions about WHY. I’ve got to say, the spatula was by far my favorite. I mean just look at those beautiful bubbles 🙂
You can find the packet of communication boards at my TeachersPayTeachers store. I really appreciate your support!
I hope you take the time to enjoy making some bubbles before the school year is over! Please leave a comment to share how you use bubbles in therapy.

